How to Structure Your Enterprise on the Google Cloud Platform

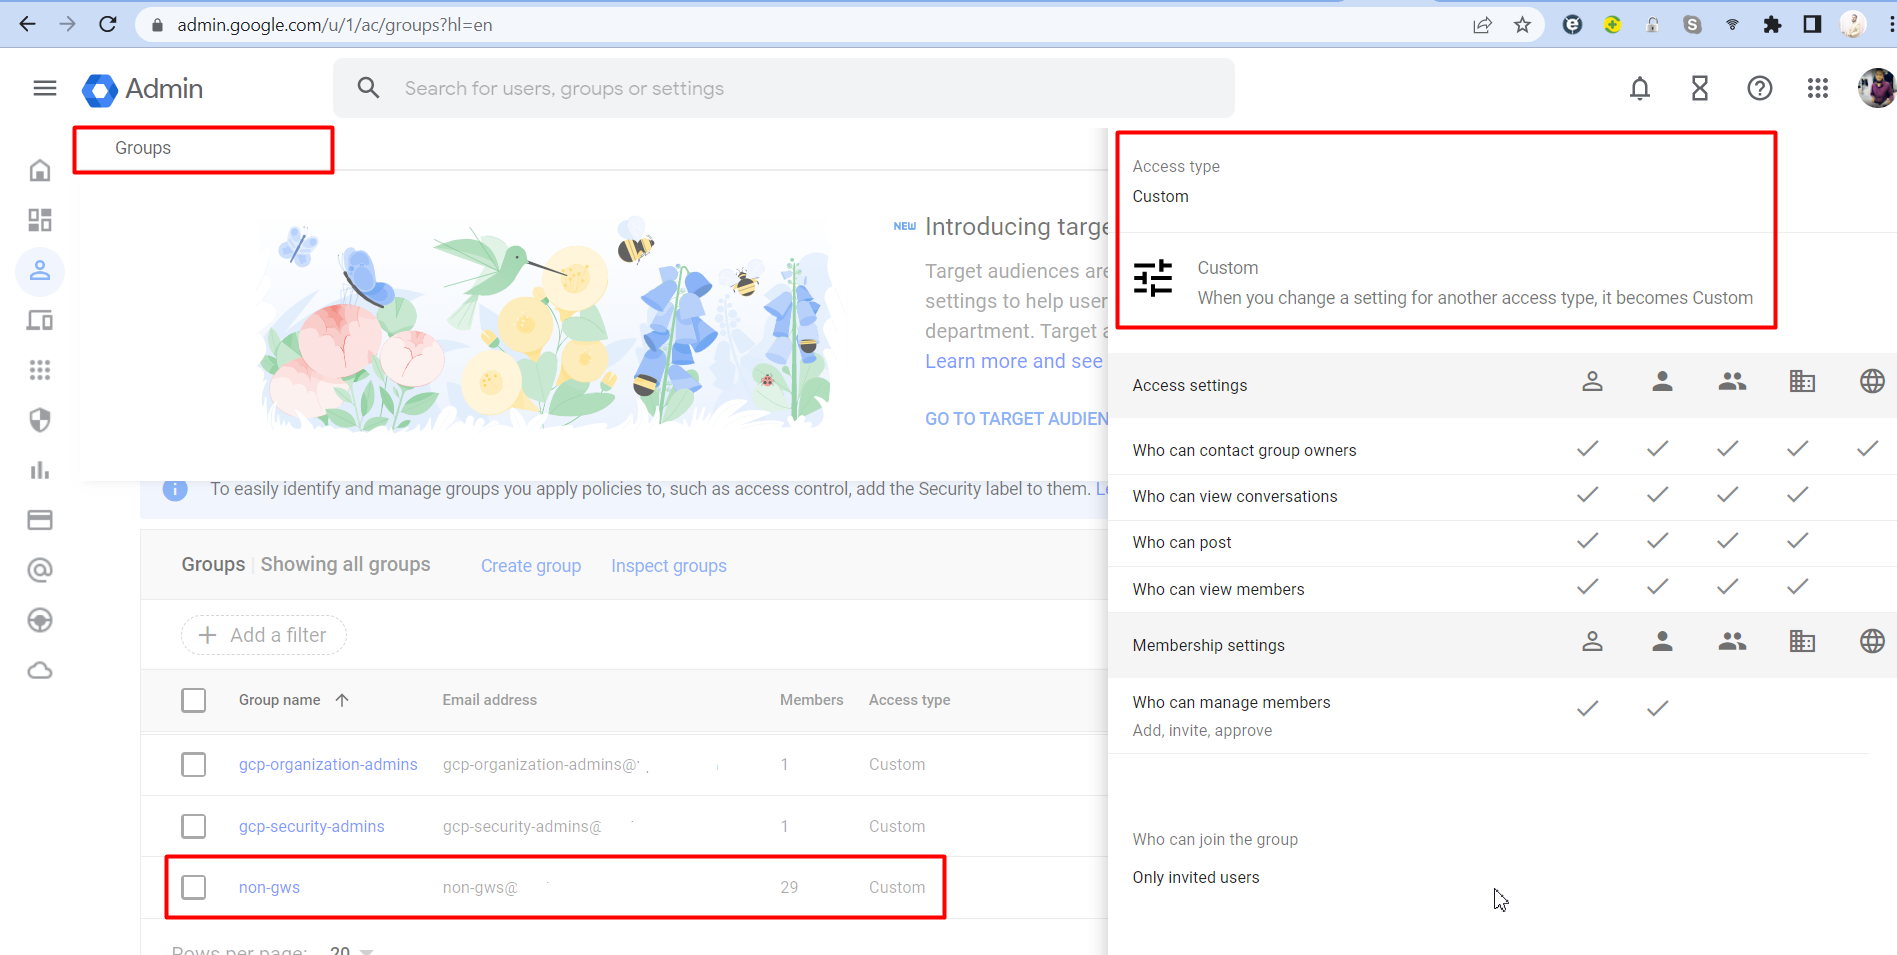
Google Workspace or Cloud Identity structure
==================================

Google Workspace or Cloud Identity structure
==================================
Transfer/Migrate GWS a customer's subscriptions to your reseller
Step-1: Collect Reseller ID from reseller admin panel : admin.google.com
=>Account=>account settings=>Profile=> CustomerID => Collect CustomerID CXXDDEXXX
Step-2: Generate Transfer Token by visting bellow URL
https://admin.google.com/TransferToken
Submit reseller's CustomerID to generate Token and COllect Transfer Token
Step-3: Create customers from channel services
=> Customers => Create customer => Transfer customer => Give Transfer Token and submit
Mail will come to admin with new customer ID: C0NEW
Check by Login from GWS Admin Portal
https://admin.google.com/u/1/ac/home?ecid=C0NEW
https://admin.google.com/u/1/ac/home?hl=en&cid=C0NEW=tayabkhan.com
SuiteCRM is an open-source Customer Relationship Management (CRM) software solution that helps organize all the processes and activities concerning a company's sales, markets, and services administration
SuiteCRM will work with php-7.4 and lower version
STEP-1: Configure MariaDB for SuiteCRM
Login to MariaDB instance.
$ sudo mysql -u root
Create a new database named suitecrm.
CREATE DATABASE suitecrm;
Create a database user suitecrm and grant all permission of the database to the new user.
GRANT ALL ON suitecrm.* TO 'suitecrm'@'localhost' IDENTIFIED BY 'StrongPassword';
Flush privileges table.
FLUSH PRIVILEGES;
Exit MariaDB console.
EXIT;Download the latest stable version of SuiteCRM.
$ wget https://suitecrm.com/files/162/SuiteCRM-7.11/525/SuiteCRM-7.11.18.zip
Install unzip utility.
$ sudo apt install unzip
Unzip the downloaded zip files to directory /var/www/.
$ sudo unzip SuiteCRM-7.11.18.zip -d /var/www/
Rename the installation folder.
$ sudo mv /var/www/SuiteCRM-7.11.18/ /var/www/suitecrm
Then run the following commands to set the correct permissions.
$ sudo chown -R www-data:www-data /var/www/suitecrm/


$ sudo chmod -R 755 /var/www/suitecrm/
Install PHP modules required by SuiteCRM.
sudo apt install php-imagick php7.4-fpm php7.4-mysql php7.4-common php7.4-gd php7.4-imap php7.4-json php7.4-curl php7.4-zip php7.4-xml php7.4-mbstring php7.4-bz2 php7.4-intl php7.4-gmp
Edit the PHP configuration file to set a limit for upload file size. The default maximum file size for uploading is 2MB.
$ sudo nano /etc/php/7.4/fpm/php.ini
Find the line upload_max_filesize = 2M around line 840. Change the value like below. Save and close the file.
upload_max_filesize = 20M
Restart PHP-FPM.
$ sudo systemctl restart php7.4-fpm
Restart Nginx.
$ sudo systemctl restart nginxCreate a virtual host for SuiteCRM.
$ sudo vi /etc/nginx/conf.d/suitecrm.conf
server {

    listen 80;

    listen [::]:80;

    server_name suitecrm.tayabkhan.com;


    root /var/www/suitecrm;

    error_log /var/log/nginx/suitecrm.error;

    access_log /var/log/nginx/suitecrm.access;

    client_max_body_size 20M;


    index index.php index.html index.htm index.nginx-debian.html;


    location / {

        # try to serve file directly, fallback to app.php

        try_files $uri /index.php$is_args$args;

    }


    location ~ \.php$ {

        include snippets/fastcgi-php.conf;

        fastcgi_pass unix:/run/php/php7.4-fpm.sock;

        #Note: If you install SuiteCRM on iRedMail server, you should use the TCP socket instead.

        #fastcgi_pass 127.0.0.1:9999

    }


    location ~* ^/index.php {

        # try_files $uri =404;

        fastcgi_split_path_info ^(.+\.php)(/.+)$;

        # NOTE: You should have "cgi.fix_pathinfo = 0;" in php.ini


        fastcgi_pass unix:/var/run/php/php7.4-fpm.sock;

        #Note: If you install SuiteCRM on iRedMail server, you should use the TCP socket instead.

        #fastcgi_pass 127.0.0.1:9999

        fastcgi_index index.php;

        fastcgi_param SCRIPT_FILENAME $document_root$fastcgi_script_name;

        include fastcgi_params;


        fastcgi_buffer_size 128k;

        fastcgi_buffers 256 16k;

        fastcgi_busy_buffers_size 256k;

        fastcgi_temp_file_write_size 256k;

    }


    # Don't log favicon

    location = /favicon.ico {

        log_not_found off;

        access_log off;

    }


    # Don't log robots

    location = /robots.txt  {

        access_log off;

        log_not_found off;

    }


    # Deny all attempts to access hidden files/folders such as .htaccess, .htpasswd, .DS_Store (Mac), etc...

    location ~ /\. {

        deny all;

        access_log off;

        log_not_found off;

    }

}
=====================Test the Nginx configuration.
$ sudo nginx -t
Reload Nginx for the changes to take effect.
$ sudo systemctl reload nginx
=========================
STEP-4: Finish Installation of SuiteCRM from web
To finish the SuiteCRM installation, go to your browser address bar, type in http://IPaddress/install.php for SuiteCRM to access the web install wizard. For example:
http://suitecrm.tayabkhan.com/install.php
You have successfully installed SuiteCRM on your server. Use suitecrm as your database name, localhost as your host name, suitecrm as user and StrongPassword as your password. Modify the StrongPassword value with the actual password you used. You can now create your account and begin using SuiteCRM.
STEP-5: Configure CRONTAB
sudo crontab -e -u www-data
... and add the following line to the crontab file:
* * * * * cd /var/www/suitecrm; php -f cron.php > /dev/null 2>&1
STEP-6: ACCESS SUITECRM
http://suitecrm.tayabkhan.com admin usernam and passwordIF you need to change URL: Edit the config.php file from the site’s root directory and update the following line with the new URL:'site_url' => 'https://new-domain.com',hostname = new-domain.com
Marketing Mail or Bulk Email Solutions
--------------------------------------------------
1) AWS SES :
Amazon Simple Email Service (SES) lets you reach customers confidently without an on-premises Simple Mail Transfer Protocol (SMTP) system.
https://aws.amazon.com/ses/pricing/
Amazon SES is a cloud email service provider that can integrate into any application for bulk email sending. Whether you send transactional or marketing emails, you pay only for what you use. Amazon SES also supports a variety of deployments including dedicated, shared, or owned IP addresses. Reports on sender statistics and a deliverability dashboard help businesses make every email count.
2) Sendgrid:
SendGrid delivers your transactional and marketing emails through the world's largest cloud-based email delivery platform. Send with confidence.
SendGrid (also known as Twilio SendGrid) is a Denver, Colorado-based customer communication platform for transactional and marketing email.
https://sendgrid.com/pricing/
3) Mailgun :
Managed email delivery for high-volume senders
Sending millions of emails a month requires an extra level of diligence to achieve and maintain optimal deliverability and performance. Our experts help you get more emails delivered, with a strategy customized to your needs.
https://www.mailgun.com/plans-and-pricing/
4) Mailchimp:
https://mailchimp.com/pricing/marketing/
5) Sendinblue
https://www.sendinblue.com/pricing/
GCP SCC
-------------
Security Command Center is Google Cloud's centralized vulnerability and threat reporting service. Security Command Center helps you strengthen your security posture by evaluating your security and data attack surface; providing asset inventory and discovery; identifying misconfigurations, vulnerabilities and threats; and helping you mitigate and remediate risks
To use Security Command Center, you must have an Identity and Access Management (IAM) role that includes appropriate permissions:

The Threats dashboard helps you review potentially harmful events in your organization's Google Cloud resources.
The threats dashboard displays results for the time period you specify in the drop-down list. The drop-down list has several options between 1 hour and "all time," which shows all findings since the service was activated. The time period you select is saved between sessions.

Edit transport file for ON-PREM POSTFIX
-----------------------------------
vi /etc/postfix/transport
#########################################
########### GWS MAIL Boxes ##############
#########################################
tayab.khan@tayabkhan.com smtp:[ASPMX.L.GOOGLE.com]:25
#tayabkhan.com smtp:[ASPMX.L.GOOGLE.com]
postmap /etc/postfix/transport
----------------------------------------------
Edit transport file for ON-PREM ZIMBRA server
-------------------------------------------
su - zimbra
vi /opt/zimbra/common/conf/transportfile [Create new file]
tayab.khan@tayabkhan.com smtp:[ASPMX.L.GOOGLE.com]:25
postmap /opt/zimbra/common/conf/transportfile
zmprov ms `zmhostname` zimbraMtaTransportMaps "lmdb:/opt/zimbra/common/conf/transportfile,proxy:ldap:/opt/zimbra/conf/ldap-transport.cf"
[For Checking : zmlocalconfig |grep -i postfix_transport_maps]
postfix reload
tail -f /var/log/zimbra.log
=-------------------------------------
From GWS admin panel use Route and also Default route for the incoming route


#Check USB Port Speed from Linux Server:
cat /sys/bus/usb/devices/usbX/speed
Here X will be 1 or 2 or 3 , usb1 or usb2 or usb3
if give you the bus speed of the root hub(s) in Mbps:
either 1.5, 12, indicate USB1 (low speed or full speed)
either 480, indicate USB2
either 5000 or 10000, indicate USB3
#Create specific size file and check read write speed in linux
dd if=/dev/zero of=test bs=1G count=1
this will carete a 1Gb file name will be test
========================
Mounting a Google Cloud Storage bucket into CentOS/Debian
================================================
So here are the steps;
Create a GCP Cloud Storage bucket
Add a service account to which has access to that bucket
Install GCSFuse (The software that actually does the job) on the server
Prepare to mount (like we were doing bungee jumping up-to this point)
[Optional] Configure HTTP proxy settings
Mount the bucket
------------
key.json create
enable api
https://console.cloud.google.com/apis/enableflow?apiid=iam.googleapis.com&redirect=https:%2F%2Fconsole.cloud.google.com&_ga=2.231830424.623026834.1668416683-356279560.1666504556&_gac=1.84295403.1667475992.Cj0KCQjwqoibBhDUARIsAH2OpWgkL2zPs1B-deHAoIRedHDdgqrlFzJDsyKyG1fqB1l6tVO7MIxrWNcaArfrEALw_wcB&authuser=1&project=stl-tms
from the top area click the Create Service Account button.
Add a unique name, and press Create
In the grant service account access step, select Cloud Storage > Storage Object Admin
Goto Console-> IAM -> service account -> create Service account -> (... Actions) -> Manage Key -> create json file ->
upload this key.json file to linux instance
gcsfuse --key-file /home/khan/stl-td2e879f.json --foreground /bucketdata
============================
----------------------
Mount in a Ubuntu instance
------------------------
** Install gcsfuse
Enter the following commands one by one
sudo apt-get update
sudo apt-get install curl -y
export GCSFUSE_REPO=gcsfuse-`lsb_release -c -s`
echo "deb http://packages.cloud.google.com/apt $GCSFUSE_REPO main" | sudo tee /etc/apt/sources.list.d/gcsfuse.list
curl https://packages.cloud.google.com/apt/doc/apt-key.gpg | sudo apt-key add -
sudo apt-get update
sudo apt-get install gcsfuse
As of now, you should have gcsfuse installed and ready for action. But we will need google-cloud-sdk for authenticating to the Google Storage
** Install Google Cloud SDK
export CLOUD_SDK_REPO="cloud-sdk-$(lsb_release -c -s)"
echo "deb http://packages.cloud.google.com/apt $CLOUD_SDK_REPO main" | sudo tee -a /etc/apt/sources.list.d/google-cloud-sdk.list
curl https://packages.cloud.google.com/apt/doc/apt-key.gpg | sudo apt-key add -
sudo apt-get update && sudo apt-get install google-cloud-sdk
Authenticate with Google Cloud Storage
Switch to the user you will be mounting your bucket with. And issue the following command
gcloud auth application-default login
This will present you with a URL. Copy that URL and paste it in your browser, login with your Google account. You should see a token on your browser window. Copy it and paste it in the Terminal prompt asking for the verification code.
Once you give the token, you should be authenticated and you can now mount your Bucket.
Mount the bucket
Again, switch to the user you want to mount the bucket as. This is important because you cannot change the ownership of the mount. If you mount it with root user, then the mount can only be used by the root user.
mkdir /mnt/google-cloud-bucket
gcsfuse your_bucket_name /mnt/google-cloud-bucket
That’s it, you should have your bucket mounted on your system. You can verify the mount using the df -h command
If you want to keep a trace all Linux user commands in a log file,
Follow below-mentioned steps:
1)** Edit /etc/rsyslog.d/bash.conf
vi /etc/rsyslog.d/bash.conf
and add the following:
local6.* /var/log/commands.log
2)** Open /root/.bashrc:
sudo -e /etc/bashrc
and add this line:
export PROMPT_COMMAND='RETRN_VAL=$?;logger -p local6.debug "$(whoami) [$$]: $(history 1 | sed "s/^[ ]*[0-9]\+[ ]*//" )"'
Run the following to load the changes:
source /etc/bashrc
3)** Edit /etc/logrotate.d/syslog:
sudo -e /etc/logrotate.d/syslog
and add the following line:
/var/log/commands.log
4)** Restart rsyslog service:
sudo service rsyslog restart
5)** With the above, the logs are saved in /var/log/commands.log in the following format:
Enjoy.... @taybkhan@
tail -f /var/log/commands.log
Anyone can start building on Google Cloud with $300 in free credits for 90 days and free usage of
20+ products like Compute Engine and Cloud Storage, up to monthly limits.
Visit: https://cloud.google.com/free for details
Signup form is here to use $300
https://console.cloud.google.com/freetrial
Why Cloud Security ??


